Zoom Basic Navigation and Features | Faculty & Staff
Overview
This document will cover the basic navigation in a Zoom session. As an instructor, you will have more options than the student participants. These options will allow you to teach/present more smoothly as well as have a more interactive experience with the students. In addition, you will have several tools available to help correct audio/visual issues occurring in a session.
All of the information on how to log into Zoom and schedule a meeting (class) can be found in the solution linked below.
Zoom - Logging in and Scheduling Classes in Discovery
Opening Zoom for the First Time
If this is the first time you are using Zoom through your Asbury account you will need to go to asburyu.zoom.us and click "Sign In" to configure your account. After registering your email address you can proceed with using Zoom through Discovery.
The first time you open Zoom, you should see a loading window as it pulls up the program.

You may be asked to allow Zoom to open (see screenshot below). Check the "Always Open" check box so this pop-up doesn't appear each time you use Zoom.

Audio/Video: once open, Zoom will ask you what you want to use in your session.
- Computer audio is recommended, you can test your microphone and speakers with the test button before starting the session.
-
Please note, you can check the "Always Use" option at the bottom of the window so you are not prompted to select computer audio each time you use Zoom.

Icons and Options in a Zoom Meeting
Recording - As the professor, if you have set up the meeting to record, you will see a "recording" light in the top of your screen. This does not display on the student's view if you are showing them a presentation. If you record to the cloud, the recording will be available to you after the session is over. Zoom will email you a link to your recorded video. The video will also appear in your "previous sessions" in the Discovery list without you needing to add it - this is only true if you record to the cloud NOT if you record directly to your computer.

Tool Bar - the bar at the bottom of the screen houses your tools for presenting.

Mute - this mutes your audio. If you click the arrow to the right, it gives you more advanced audio options.
Stop Video - this stops your video, but it does NOT stop the meeting. If you click the arrow to the right, it gives you more advanced video options.
Invite - allows you to invite other participants. You should NOT need to utilize this feature as all the students will have access to the session through Discovery.
Manage Participants - through this tool, you can give host powers to another participant, mute students, or turn off video for others.
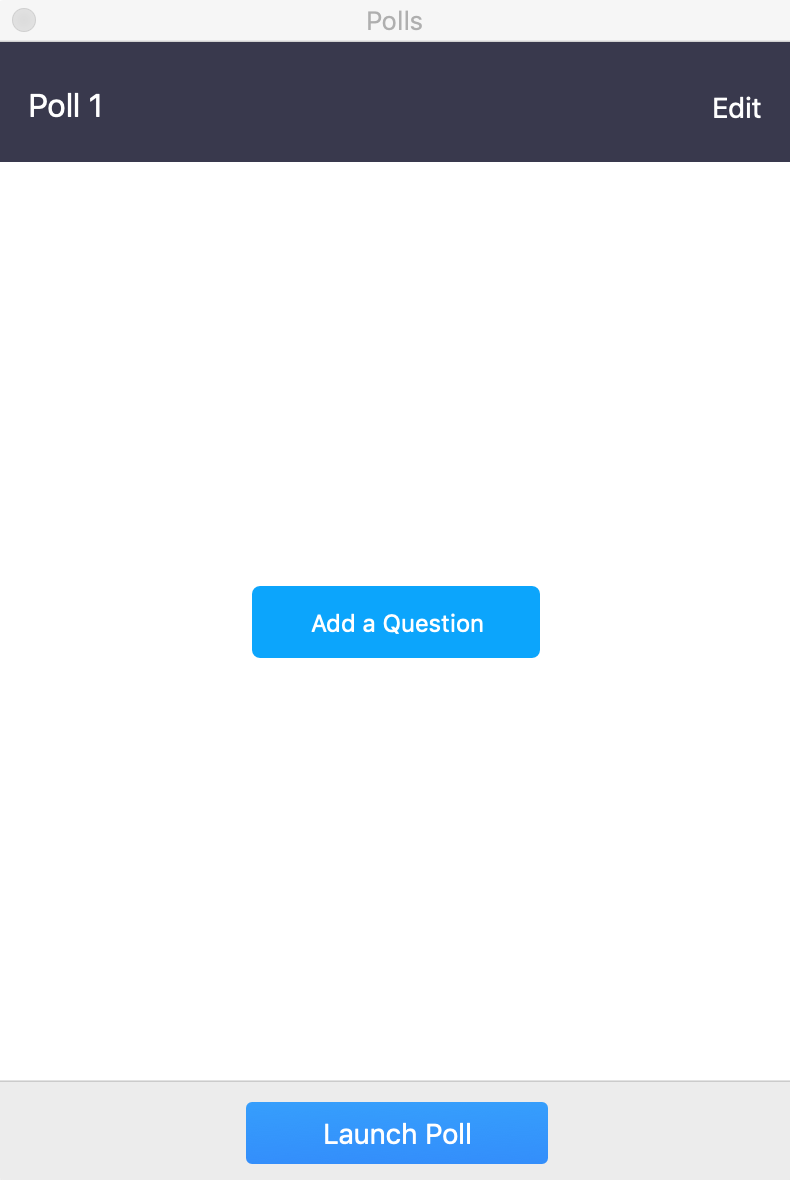
Polling - you can create a live poll during a lecture to have students vote.
Share - this option is where you can share your screen, use the Whiteboard feature to write live, airplay to the meeting with an iOS device (iPhone or iPad), and you can also connect a mobile device via cable. In addition, you will see each window you have open on your computer listed in this grid. You can choose to share just one program (ex. Excel or Powerpoint) or one browser window (Chrome with a youtube video pulled up) rather than sharing your entire desktop view.
If you are going to share a video, be sure to check the two boxes at the bottom of the share screen so students can hear the audio.
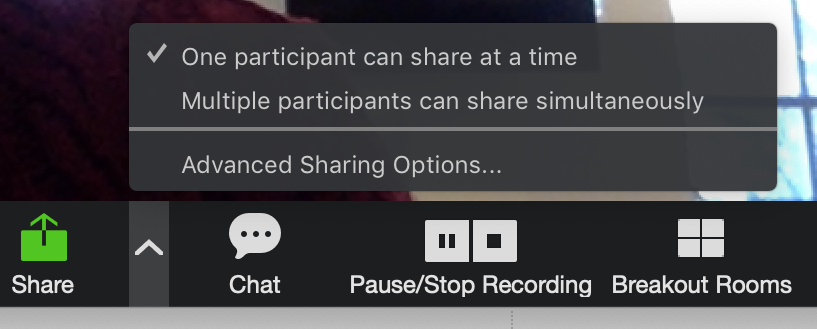
Click the arrow to the right of "Share" for options to allow one presenter at a time or multiple presenters. 
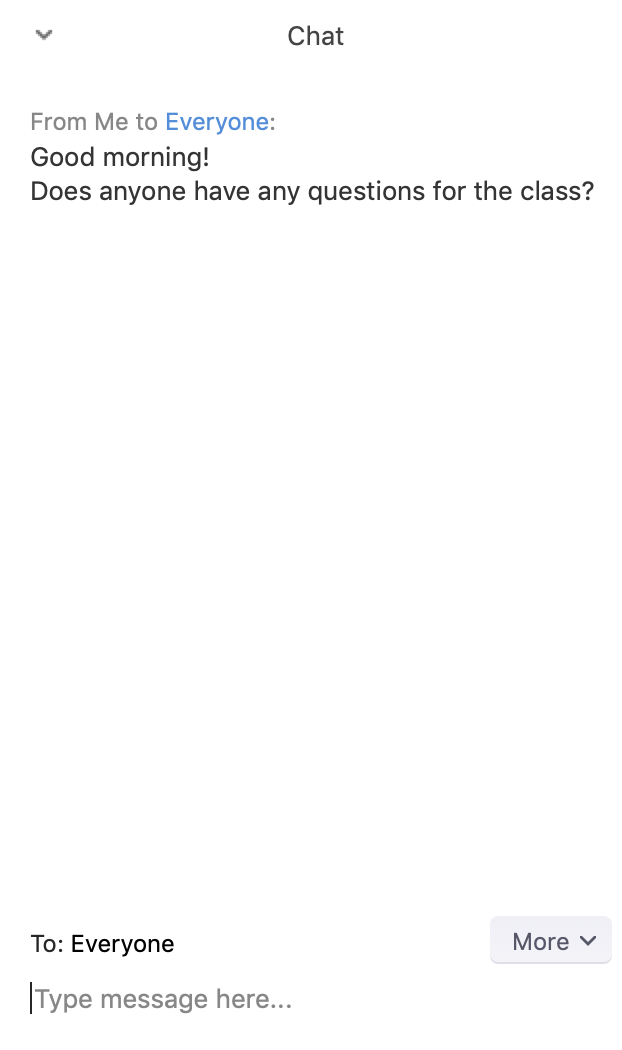
Chat - you can chat with the whole class or individual participants.

Pause/Stop Recording - this will pause the recording but does not stop the live session with students. You can resume the recording at anytime and it will continue to record your session.
Breakout Rooms - as the host, you can set breakout rooms and divide the students up so they can see each other's screens, chat with those in their "room," and work on a project together. You can then end the breakout rooms and bring everyone back together to share with the whole class.
End Meeting - this will end the meeting, you can select to end meeting for all participants to close the session when class is over.